
I've really been wanting to make a little tent for my girls to play in. I've seen these A-frame tents different places online but they cost a fortune. I saw a segment on my local home and lifestyle show Studio 5 and decided then and there to make one.
In the segment, they showed a quick tutorial of how to make one (tutorial here) but I actually ended up making my tent quite differently, and like the way I made it a little better.
And the best part? It's NO-SEW!

SUPPLIES:
long, Home Depot will do it for
free if you ask)
this size at Home Depot)
*Note: I meant to get a 3/4 inch dowel and accidentally bought
the 5/8 inch one which worked
out fine, but if I had a choice I'd get the 3/4 inch dowel since
it's easier to drill holes that size.
- 3 yards of fabric- my fabric was pre-cut to about 43" wide which
worked out great
- hot glue gun or EZ6000 glue, twine/string/extra fabric (for
attaching fabric to wood), drill & drill bit (Home Depot will drill
holes for free if you ask)
- Any embellishments you wish you use; ex. pom poms, ribbon,
banners, extra fabric, etc.

As stated above, buy 2 pieces of 1x2 inch boards 8 feet long and ask to have them cut in half at Home Depot for free.

STEP 1: Drill a 3/4” hole (or whatever size dowel you buy), 4
inches from the top, in all 4 pieces of the 1×2 lumber.
*Note: Home Depot drilled a 3/4" hole for me because I
thought I had bought a 3/4" dowel, but discovered I was
wrong once I got home. My husband drilled a smaller hole 4
inches from the bottom of each piece so I could still use the
wood boards.
STEP 2: Insert two of the 1x2's on the front of the dowel and the
other two 1x2's at the back of the dowel. This takes some
strength so you may want some help. You don't want the
dowel to easily slide in and out, it needs to be tight.
STEP 3: Place fabric over the dowel so the bottom of the fabric is
even on both sides. I didn't want the fabric to go all the
way to the floor on both sides, so I left about 3-4 inches of
space on the bottom of each side.


STEP 4: Attach the fabric to the wood board X's. I simply took a
hand-held hole punch and punched a hole at the top,
middle, and bottom of each side of fabric, then tied it to
each wood board. (2 ties at the bottom, 2 in the middle,
and 1 tie at the top where the "X" shape starts.) This means
that the fabric isn't actually permanently attached so I can
remove it to wash or switch it out with another fabric.

See the tiny hole punch? I used the scraps from the fabric to make ties.
 |
| Use only 1 tie at the top on each side. |
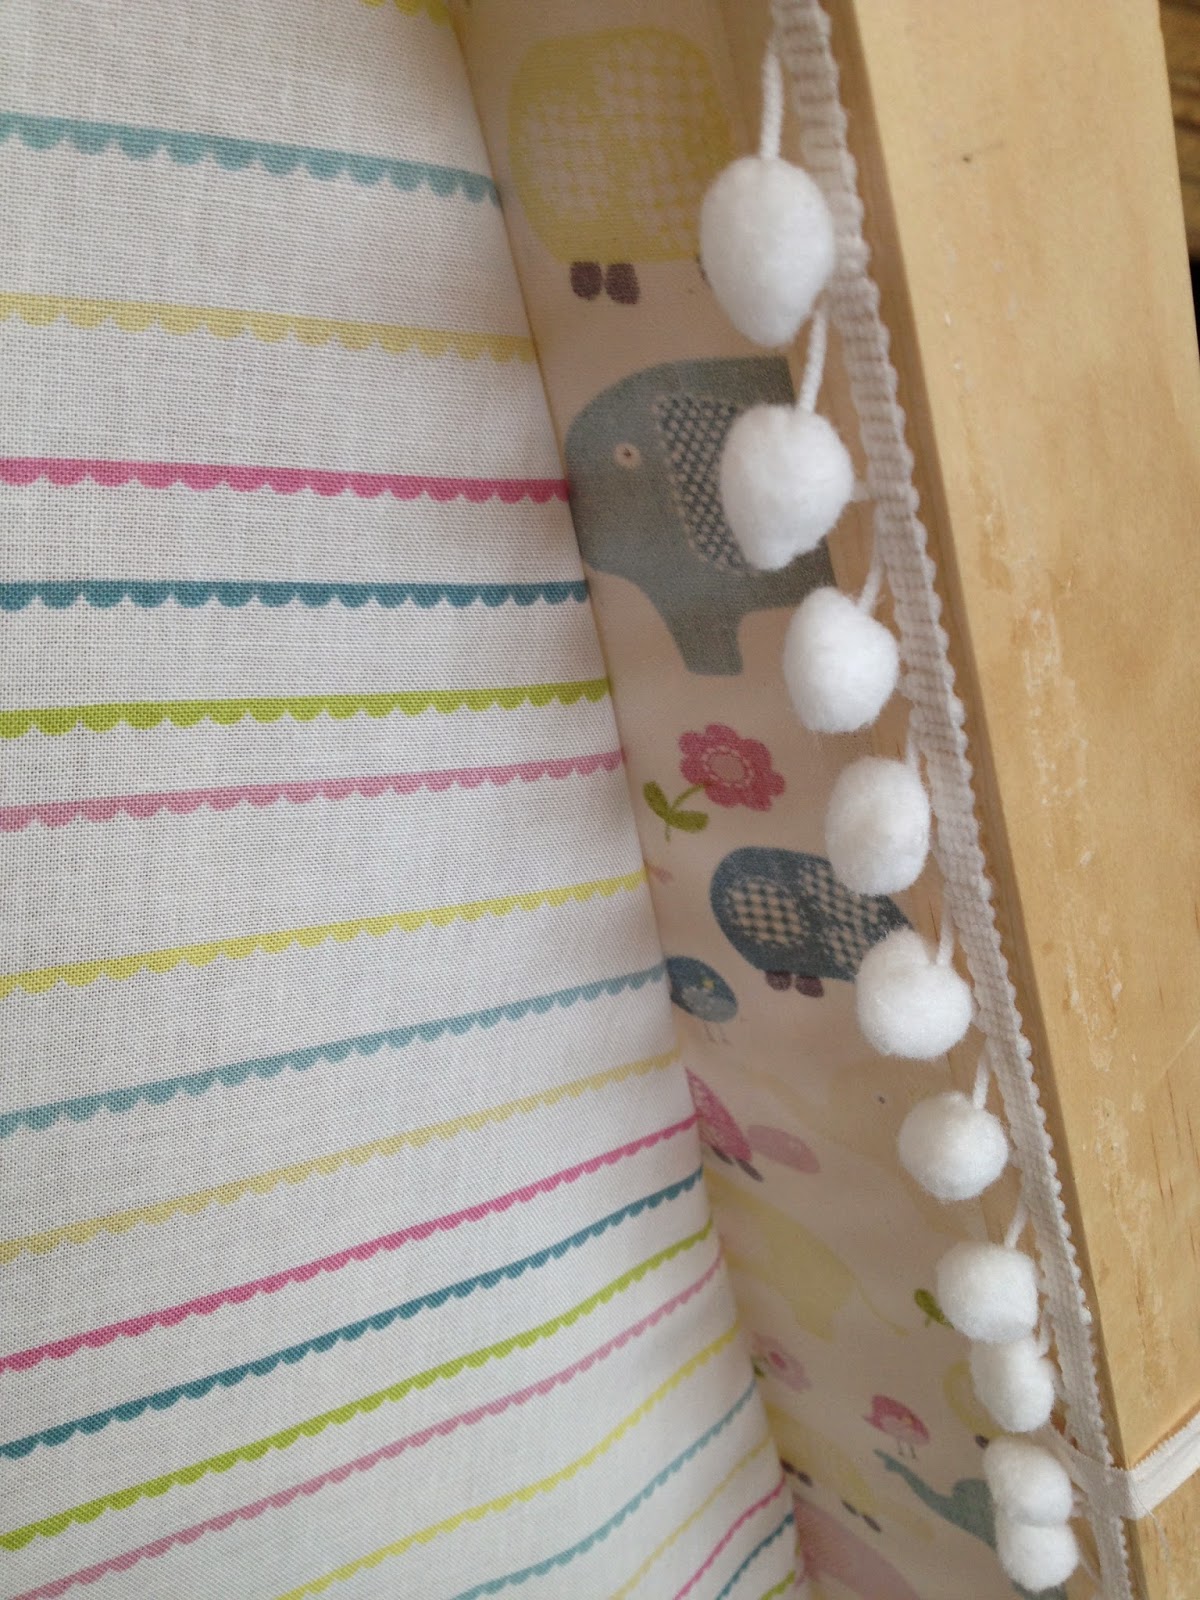
simply applying EZ6000 glue in a straight line along the
side of the wood boards. (I only did this at the "front" of
the tent, not on both ends.) Then I placed the fringe over
the glue and let it dry.
It's easier to glue embellishments on if the tent is flat so I laid one side of the tent down on the floor.


Make sure if you are attaching any embellishments to the wood boards to first un-tie the fabric. If you don't, you'll end up gluing OVER the ties and will be unable to remove them.

Sooooooo........you could end here if you want. However, once I was done, I felt like the tent needed a door or covering on at least one side, because an open tent isn't nearly as cozy or private as a tent with a door.
Instructions if you want to add a door:
SUPPLIES:
- fabric
-EZ6000 glue
I thought about all the different kinds of "doors" I could make, those with tie-backs, one that tied in the middle, one that hung from one side and attached to the other...... but all of those required some kind of tie-back or effort to keep it closed.
My girls would be crawling in and out of this tent and wouldn't have time to do that, or the know-how. I came up with this idea: simply hang two pieces of fabric that overlap slightly in the middle so that when a child crawls through, it opens easily yet swings closed again without any effort.

This part was a little tricky. I wasn't sure how much fabric I needed or how to cut the pieces out. So I spread the tent out (like in the picture above), held the fabric up to the tent frame, and sort of drew a line down the middle as my mark where to cut with scissors. Really technical huh? Actually, I didn't know what I was doing or if it would actually turn out the way I envisioned in my head, but it worked out in the end.
I made sure that one side of the fabric was wider than the other to create the "overlap" in the middle so it would close easily.
I attached the fabric directly onto the main tent fabric so that no fabric is actually directly attached to the wood boards. I once again laid the tent down on a flat surface so I could do each side of the "door". Using EZ6000 glue, I made a line of glue going all the way down the inside edge of the fabric, then gently pressed the edge of my door fabric to it. You can see the glue "dots/lines" in between the fabrics below.

So only the two edges of each fabric are glued together, nothing else.
Once that's dry, flip the tent over on the floor and glue the other side.

Once everything is dry, your tent is ready to be played in!

One of my favorite features about this kind of A-frame tent is that it folds up very easily and takes up little storage space. Some of the larger tee-pee type tents you can make take up more room.

This could slide underneath a bed, in the back of a closet, and a myriad of other small places, because it folds up so thin.

We haven't had a chance to "store" the tent yet because it's been used constantly by my girls since I finished making it.


We love placing a blanket and pillows inside the tent and reading books, playing with toys, watching a show on our ipad, and sometimes just crawling in from one side and out the other as we chase the baby (which she loves).

I hope this tutorial makes sense and that you are inspired to make your own A-frame tent! It's a great addition to any playroom (or in our case, living room). A tent adds a magical touch to any space!
Please let me know if you have further questions, and I'd love to see your finished product!
Update:
I just saw this tent from Land of Nod in a catalog. Price? $99! Make one yourself please! This one you have to assemble with metal poles and plastic pole connectors. So much work!
