|
| My finished product! So happy with how it turned out. |
I always envisioned marking my children's heights on the inside of a door way; small smeared pencil marks documenting each time they grew. It may have only been an inch here or there, but by golly every inch feels like a personal triumph! Especially when one is only 5 foot 3 inches tall as an adult!
I had seen some growth charts available commercially but wasn't too happy about the price tag ($60 or more). And I wasn't in love with the "cute-sie" look all of them had, or how they could roll up (although convenient if you move or want to personalize one for each child).
I wanted a growth chart that was a little more permanent (like wood) and wanted to share one for all my children.
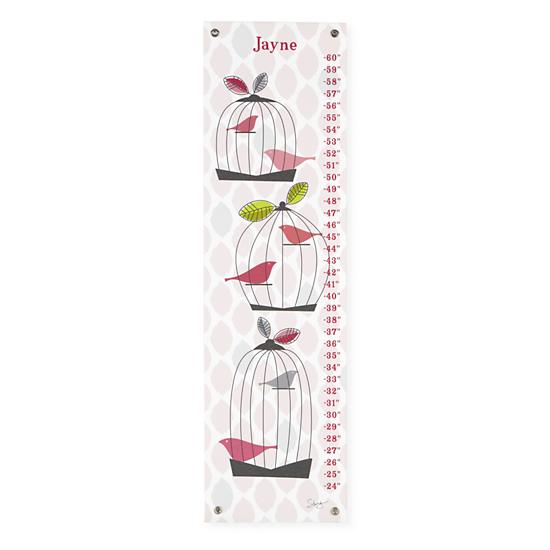 |
| Source |
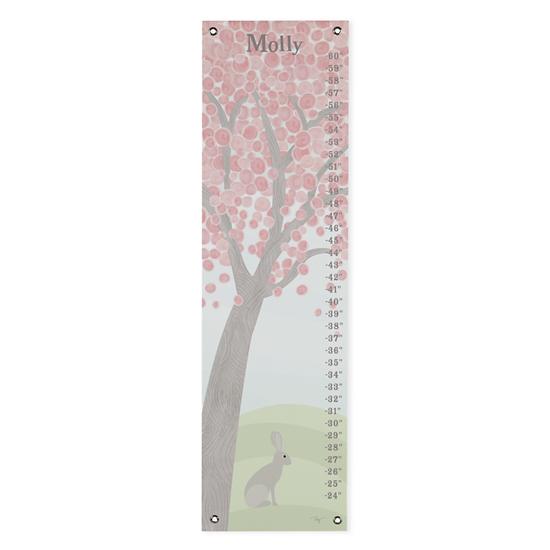
My inspiration came from this pin (and several others) on Pinterest, however, I ended up making mine a bit differently.
Supplies:
- 1 piece of wood (I suggest 1x8x6 ft)
- Wood stain & Polycrylic water-based protective finish
- foam brush (the one pictured below I didn't end up using)
- sandpaper (I simply hand-sanded with a small square of medium grit sandpaper)
- Toggle Bolts (or nails for securing wood to wall)
- Sharpie Paint Pen
- Number Stencils (I bought mine super cheap at Hobby Lobby)
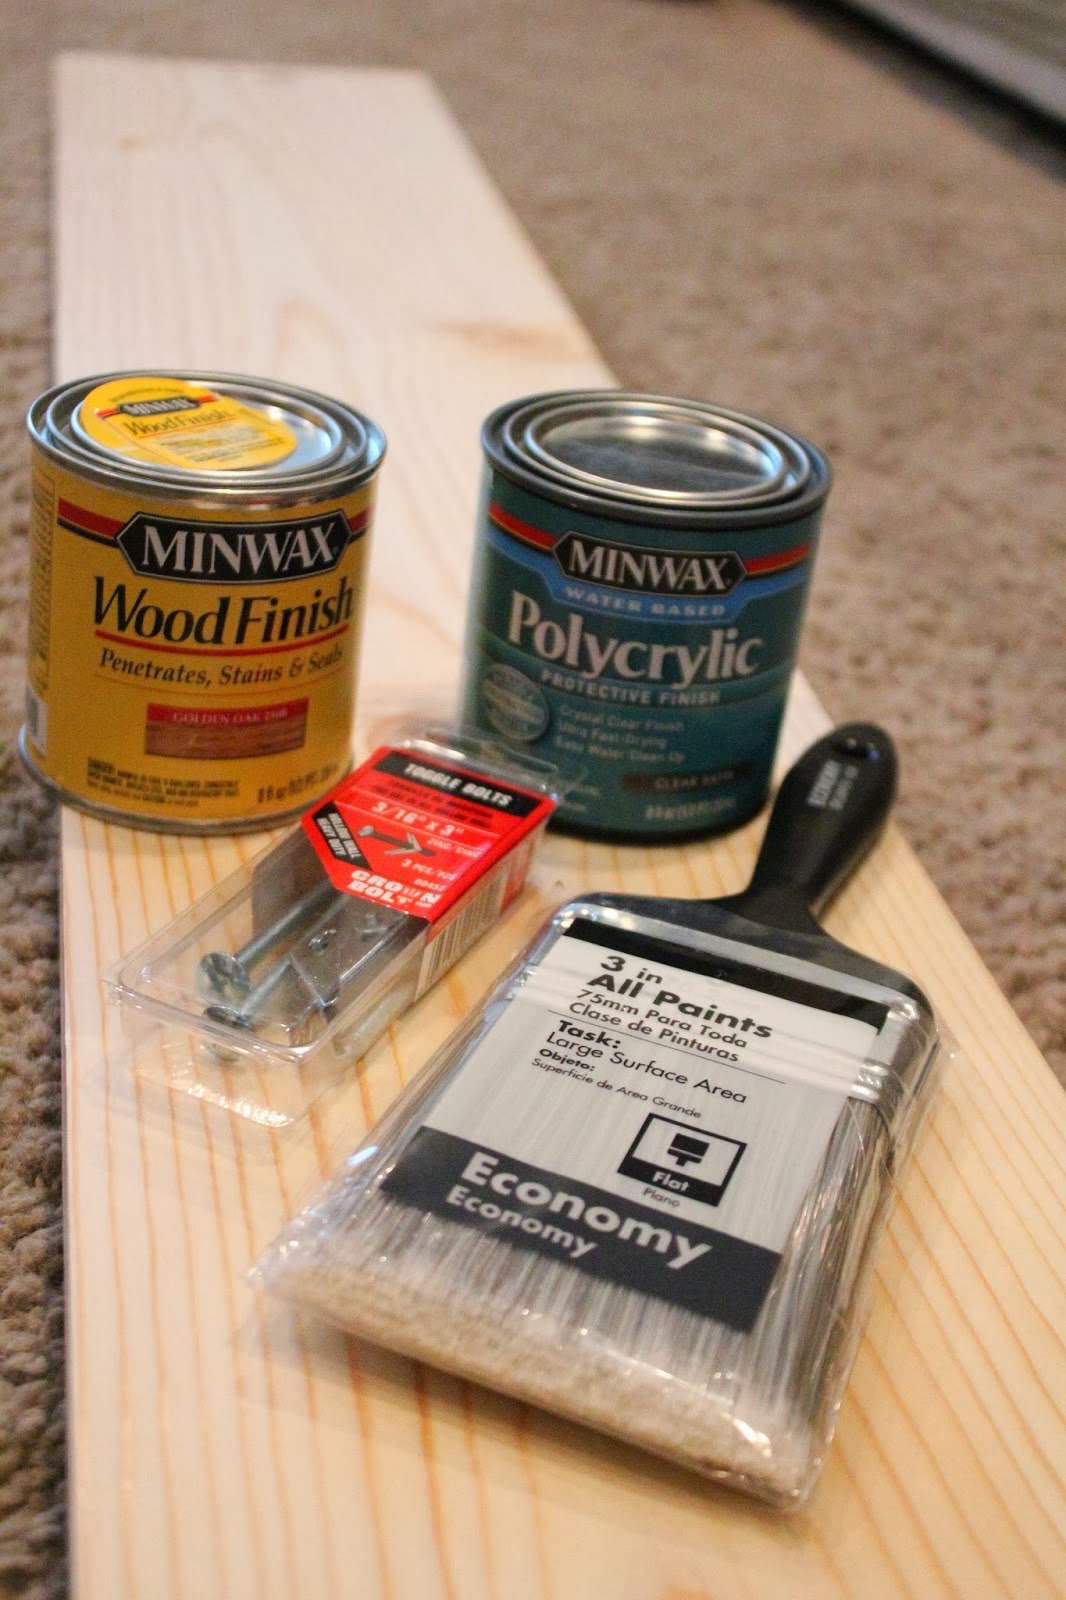
I used Minwax Golden Oak wood stain and Minwax water based polycrylic protective finish. Both were less than $5 from Home Depot.
We used Toggle Bolts ( 3/16" x3") to secure our finished wood chart to the wall. Only cost $2 or so.
The brush pictured above was too wide to dip into the stain so I simply used a cheap foam brush that worked well.
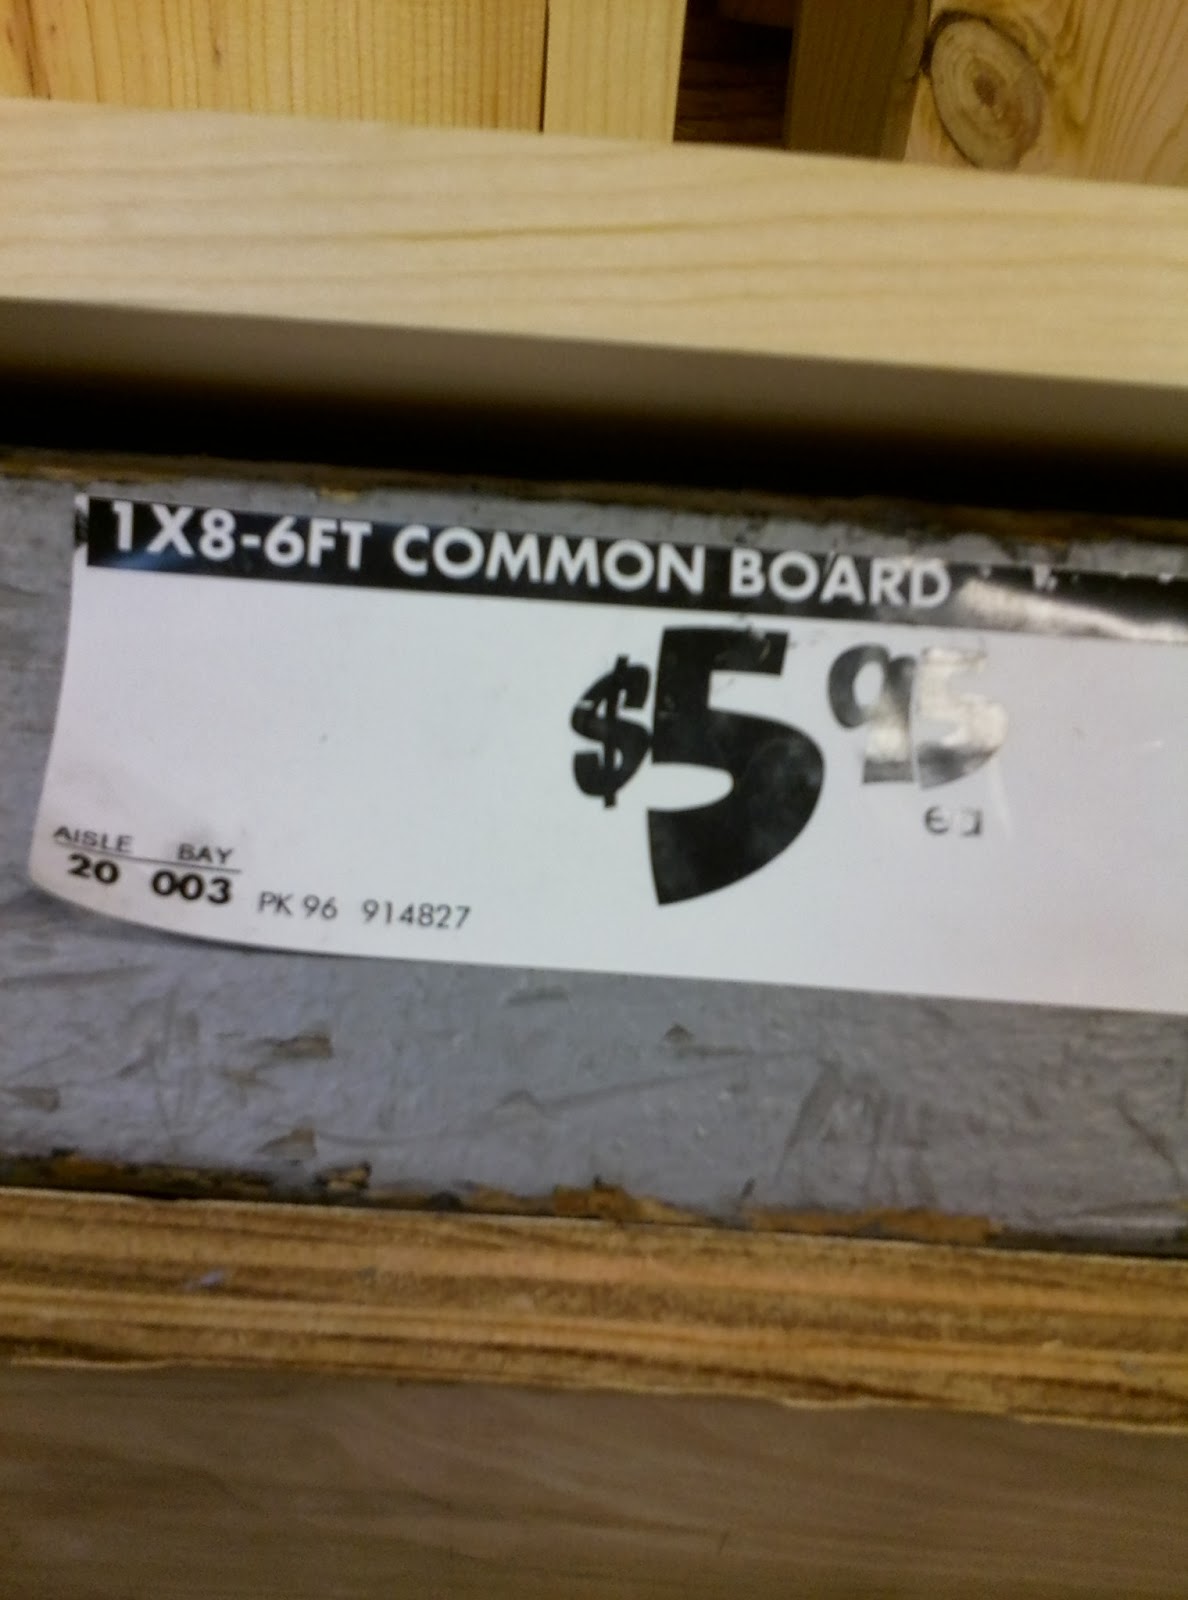
I bought the perfect sized wood at Home Depot for less than $6, and I didn't even have to have it cut! It came in the perfect size!


My little helper. Did you know that those Home Depot car carts are nearly impossible to steer!

STEP 1: Sand the wood then wipe it down with a cloth to get it clean before staining it.
STEP 2: Stain the wood. I did 2 coats, allowing plenty of drying time in between. Follow the directions on the stain can for drying times. The more stain you use the darker the wood will end up. *Don't forget to stain the sides, top, and bottom of the wood too!

What a good helper she is!

STEP 3: Apply the Minwax water based polycrylic protective finish. Again I applied 2 coats of this and let it dry thoroughly.

STEP 4: Apply inch mark lines, starting at the desired height above the floor where you will be hanging the growth chart. We have low base boards and decided to start 6 1/2 inches from the floor. I simply laid the ruler out and started the first inch mark line at 7 inches.

Using a ruler, I first measured every inch increment along the entire wood board, making a small mark every inch, then went back and made black inch mark lines with my Sharpie paint pen.

This Sharpie paint pen was a great tool. I didn't know this kind of thing existed until I saw it in the store. I wanted to use black paint but was worried about making straight lines, making a mess with the paint, etc. I liked that it was actual black paint, not just a marker. It definitely gave a better finished product by using paint instead of a Sharpie black marker.


STEP 5: Stencil the numbers on. I bought a set of number stencils at Hobby Lobby with a 40% off coupon which made them super cheap. I lined the number stencil up with the foot marking then taped it in place. I used the Sharpie paint pen to fill in the stencil.

The only con I found to the Sharpie paint pen was that it tended to bleed a little bit around the edges of the stencil, making the number look a little sloppy instead of having crisp and sharp edges like I wanted.

To fix this, I let the paint dry then I used a regular Sharpie pen marker (not paint) and outlined the number and made the edges straight. It worked really well and I think I would still prefer to use the Sharpie paint pen knowing it might bleed a little bit just because the black paint (as opposed to maker) just looked a lot better and higher quality on the wood. I only used the regular Sharpie marker around the outside of the number itself.

STEP 6: Secure the growth chart to the wall. We used toggle bolts (one at the top and bottom) which secured it really well. It's not going anywhere!
STEP 7: Start recording your childrens' growth! This was the really fun part. Since our oldest is 3.5 years old we just went back and marked how tall she was at birth, age 1, age 2, and age 3. Then on her 4th birthday we can actually measure her against the growth chart.
Even though babies can't stand at birth to have their height measured, we thought we would include it here anyways so our kids can see their progression from birth.
We used a regular Sharpie maker to write in the growth information. I didn't want to have to fuss with paint every time we recorded their height. It makes it so much easier to just use a permanent marker.

I originally had plans after finishing the inch marks and number stencils to add a patterned stencil, either polka dots or a damask stencil, with white paint. But I ultimately decided against it because I liked the simple look of the "ruler" growth chart and thought why mess up an already good looking project? I tend to do that by the way, go too far, make things look too messy, and wish I had just stopped while it looked good.


Our daughter was thrilled to see how tall she was on the growth chart. We are so excited to mark our daughters' growth throughout the years. I also like that this growth chart doesn't scream "cutsie" like some growth charts with bears, butterflies, flowers, etc. do. It is in our hallway but you can see it from our living room which I like. It's definitely dual-purposed, and serves as a unique piece of home decor as well.

Here are both our daughters showing off their height. Our baby girl didn't like it too much.

I don't consider myself a huge DIY-er, but do like to tackle a DIY project every once in a while. I also will never take on a DIY project that is really too difficult or takes too much time. For someone who doesn't do crafty or diy stuff a lot, this project was totally doable and I would do it again in a heartbeat!